The most fundamental operation of any application is a file upload. While images can be uploaded on the front end, they must be received via an API and database on the backend. You can set up file and image uploads in one place using Multer and Express, a Node.js framework. In this blog, we will demonstrate how to upload single or multiple images to a local directory with Multer in Node.js.
What is Multer?
Multer is a node.js middleware for handling multipart/form-data that is primarily used for file uploading, according to the documentation. For maximum efficiency, it is written on top of the busboy.
Hands-on
In this hands-on, we will see how we can make use of a package – Multer to upload single or multiple images. We will begin with creating a new directory and installing express in that directory. Post that we will install multer and verify its installation in the package files. Then we will import the required packages, run the server, and test if the application is running as expected. Once that is done, we will then create a new folder to store the uploaded images in it.
Post that, we will write a function to create image storage for the images that are to be uploaded. Then we will create a function to let us be able to upload images using the multer package. We will then create a route for us to hit the URL and test the package for uploading the image. Navigating to the postman application, we will hit the URL and check if the image is uploaded onto the local machine. We will then create a route for uploading multiple images and navigating to the postman application, we will configure the Body parameters and hit the new URL to upload multiple images, and finally test the same by checking if the images are uploaded in the created folder.
Note: Please ensure that Node.js is properly installed onto the local machine or else it might display multiple errors while following the process.
Create a new directory on your local machine.

Open the newly created directory into a code editor.
Right-click in the left navigation pane and click on New file.

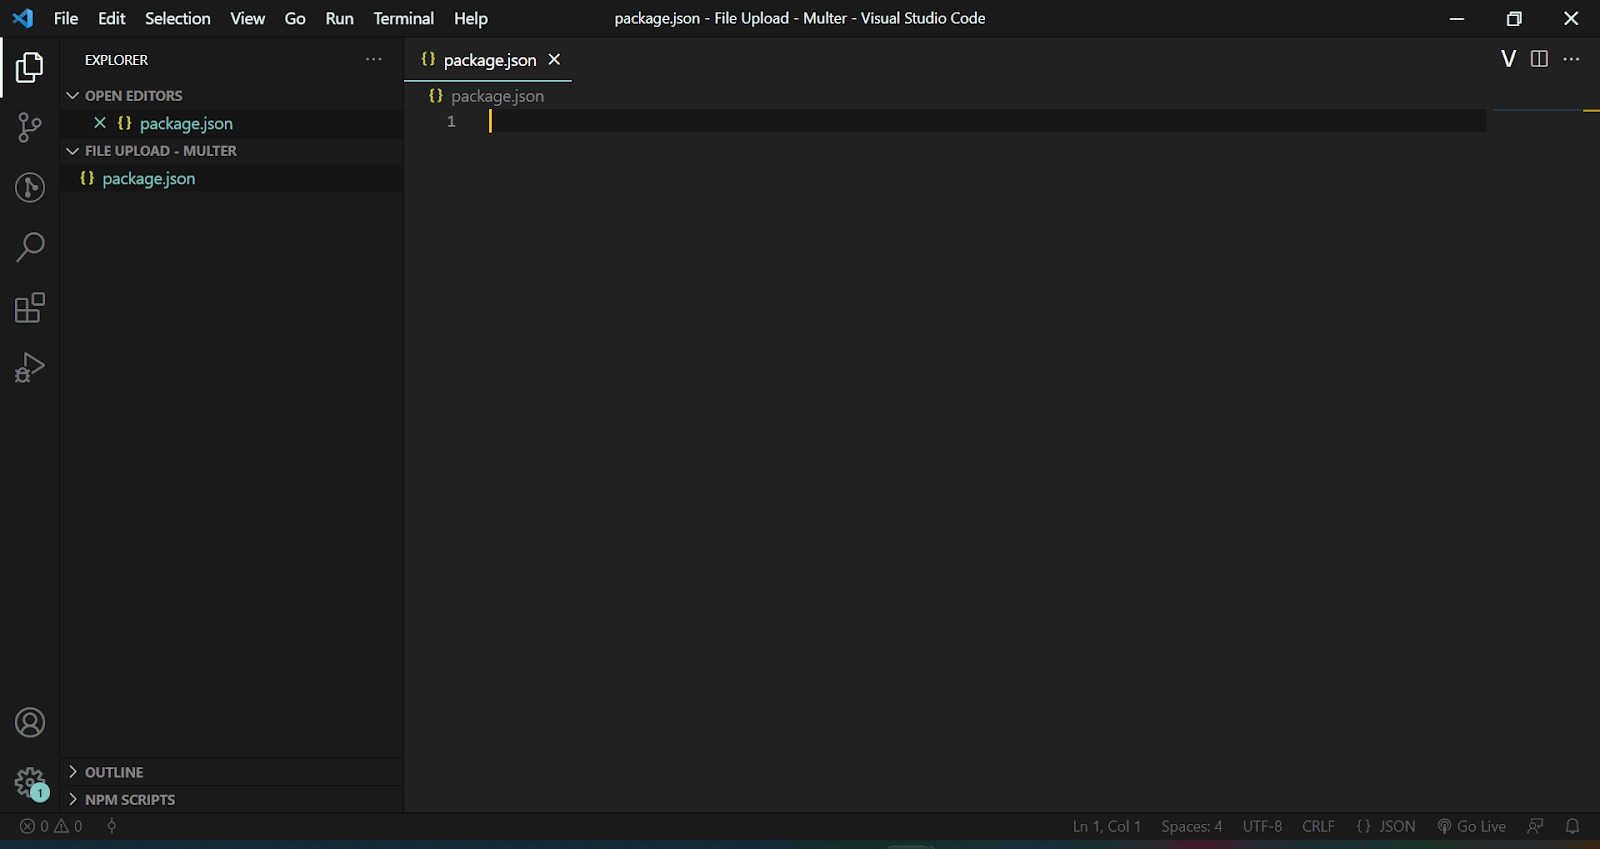
Create a new file with the name package.json.
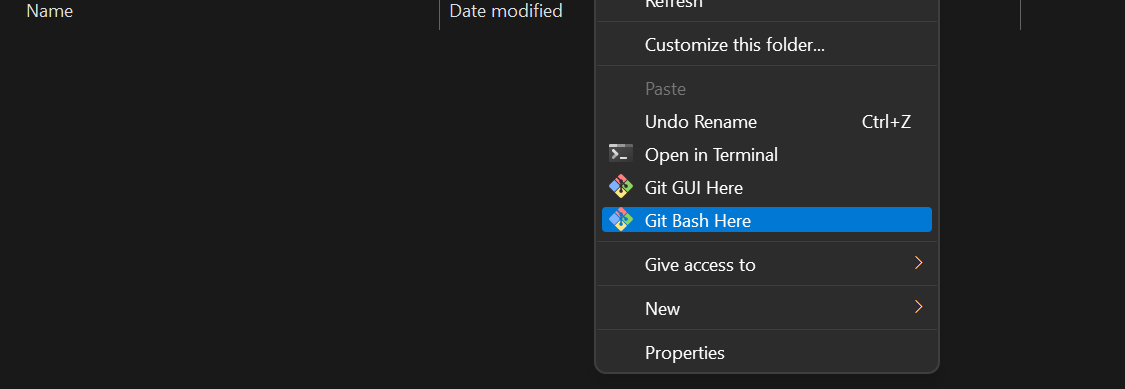
Right-click in the newly created directory and click on Git Bash Here.
Run the command: npm init
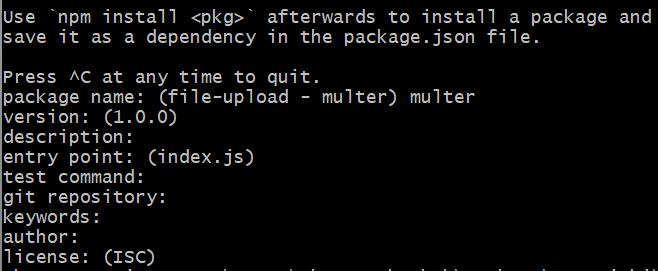
Press yes after selecting the default values.
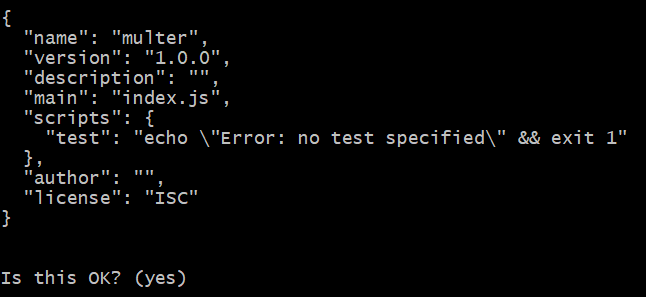
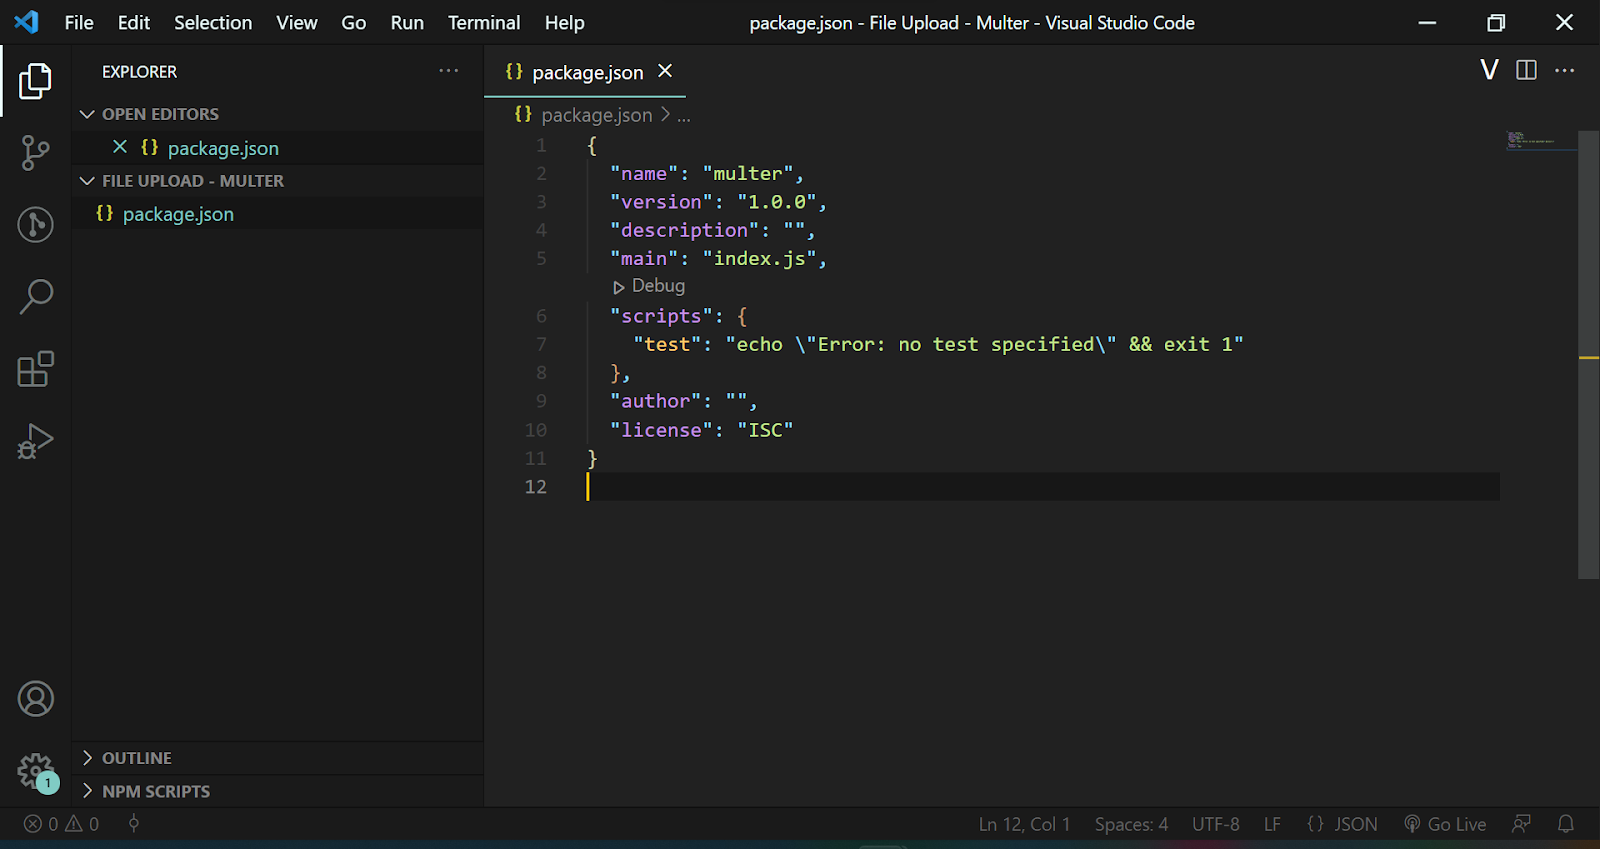
Verify the configuration setup in the package.json file created above.
Now, we need to install express. To do so, use the following command:
npm install express --save

Post that, we need to install a multer package. To do so, use the following command:
npm install --save multer
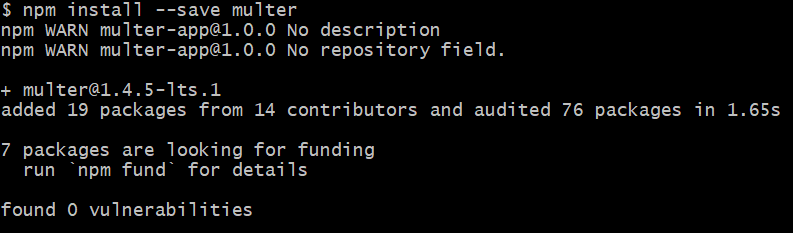
Verify the package installations by navigating to the package.json file.
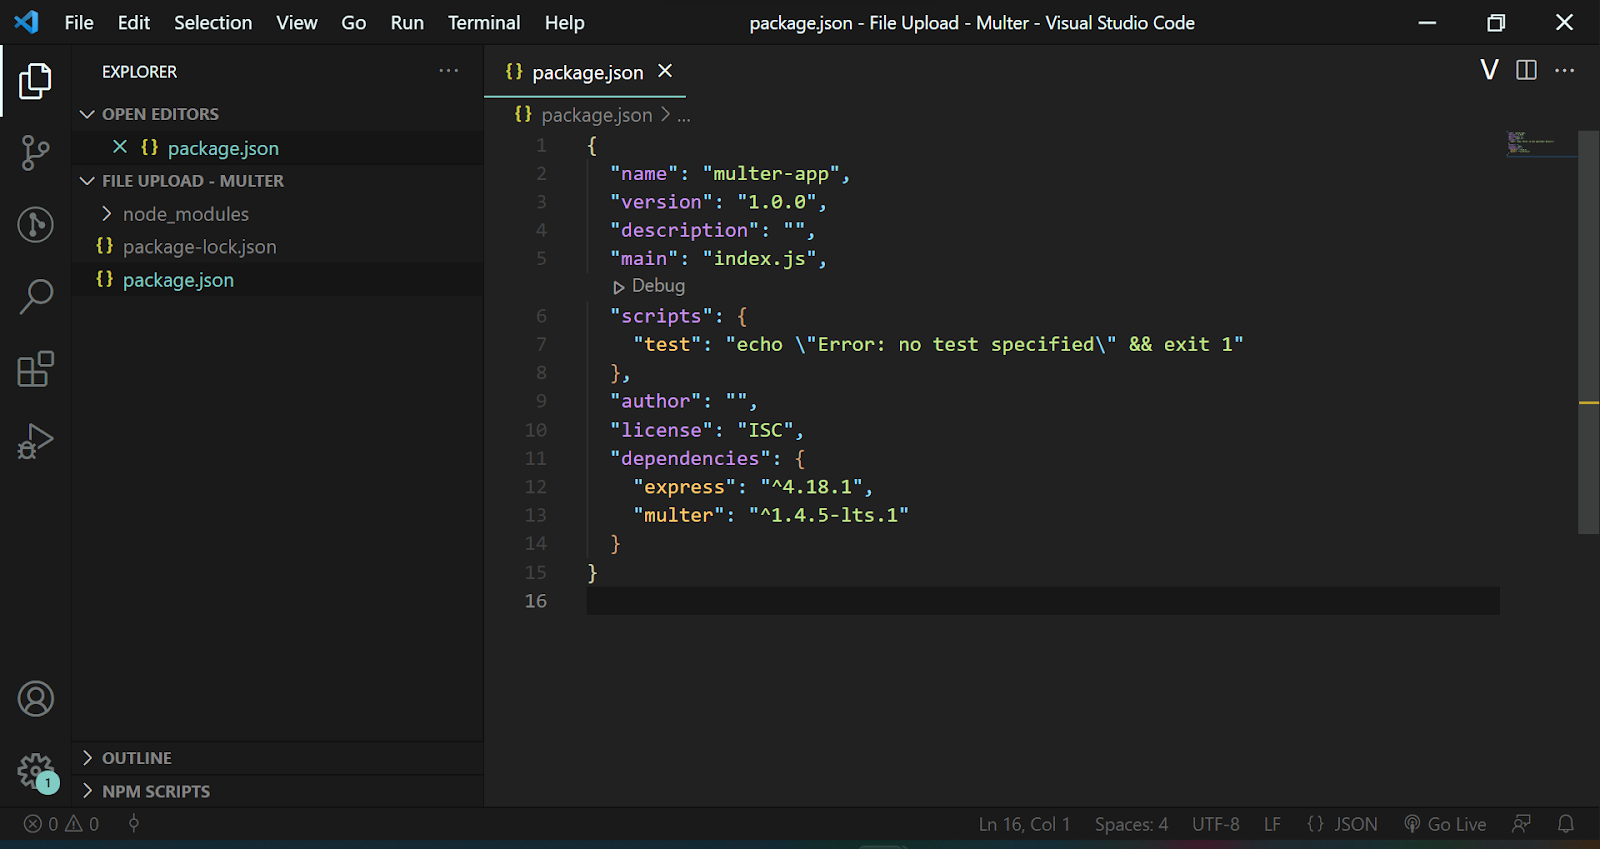
A new package-lock.json file will be created in the directory.

Create a new file with the name app.js.

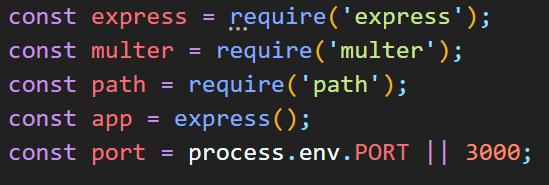
In the app.js file, import the express package using the below snippets code.

Define a port number using the below code on which our application will run.

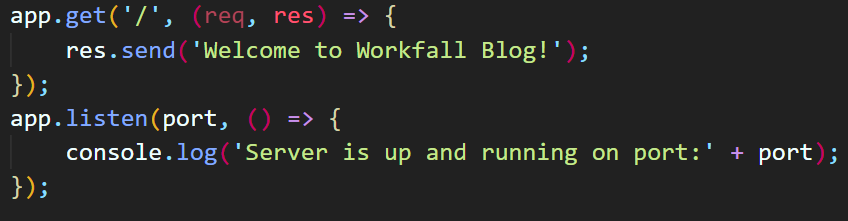
Now, configure a route to display a message on running the server.
Now, start the server using the command:
node app.js

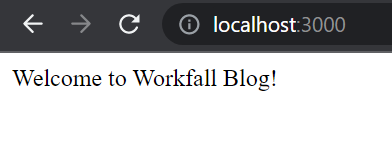
On any of the browsers, use the link http://www.localhost:3000 and hit enter. On success, you will see the image as entered above.
Now, import the multer package using the below code.

The final import code looks as shown in the image below.
Now, create a new folder with the name images in the directory.

Then we will create a variable function to define the storage location for all the image files.

Moving further, we will create a variable function for using Multer to limit the file size thereby attaching the file storage and catching errors if any.
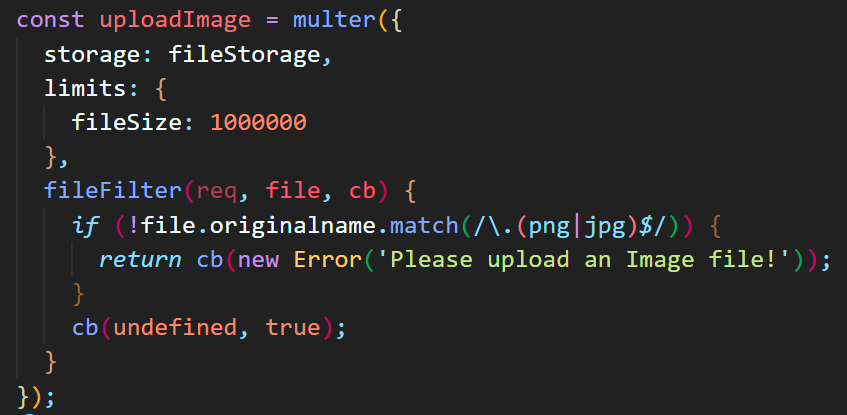
We will then create a route for uploading the image using which when we hit the URL with the file, the file can be uploaded to the directory.

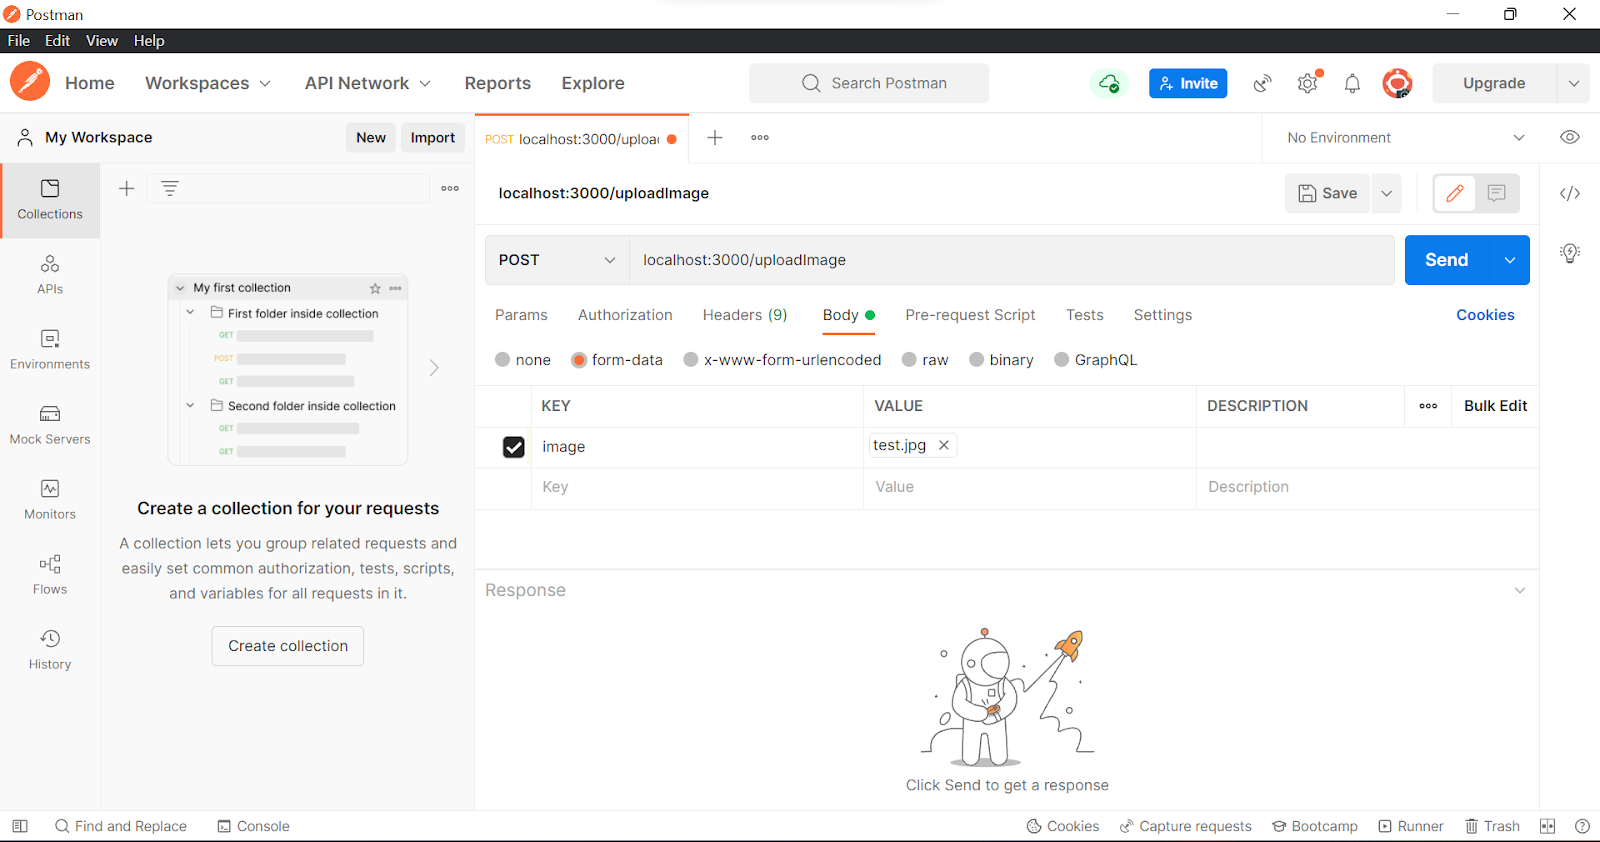
Now, open postman. We will be using postman to hit the URL. Click on the + sign.

Add the URL as localhost:3000/uploadImage and change the request type to POST.
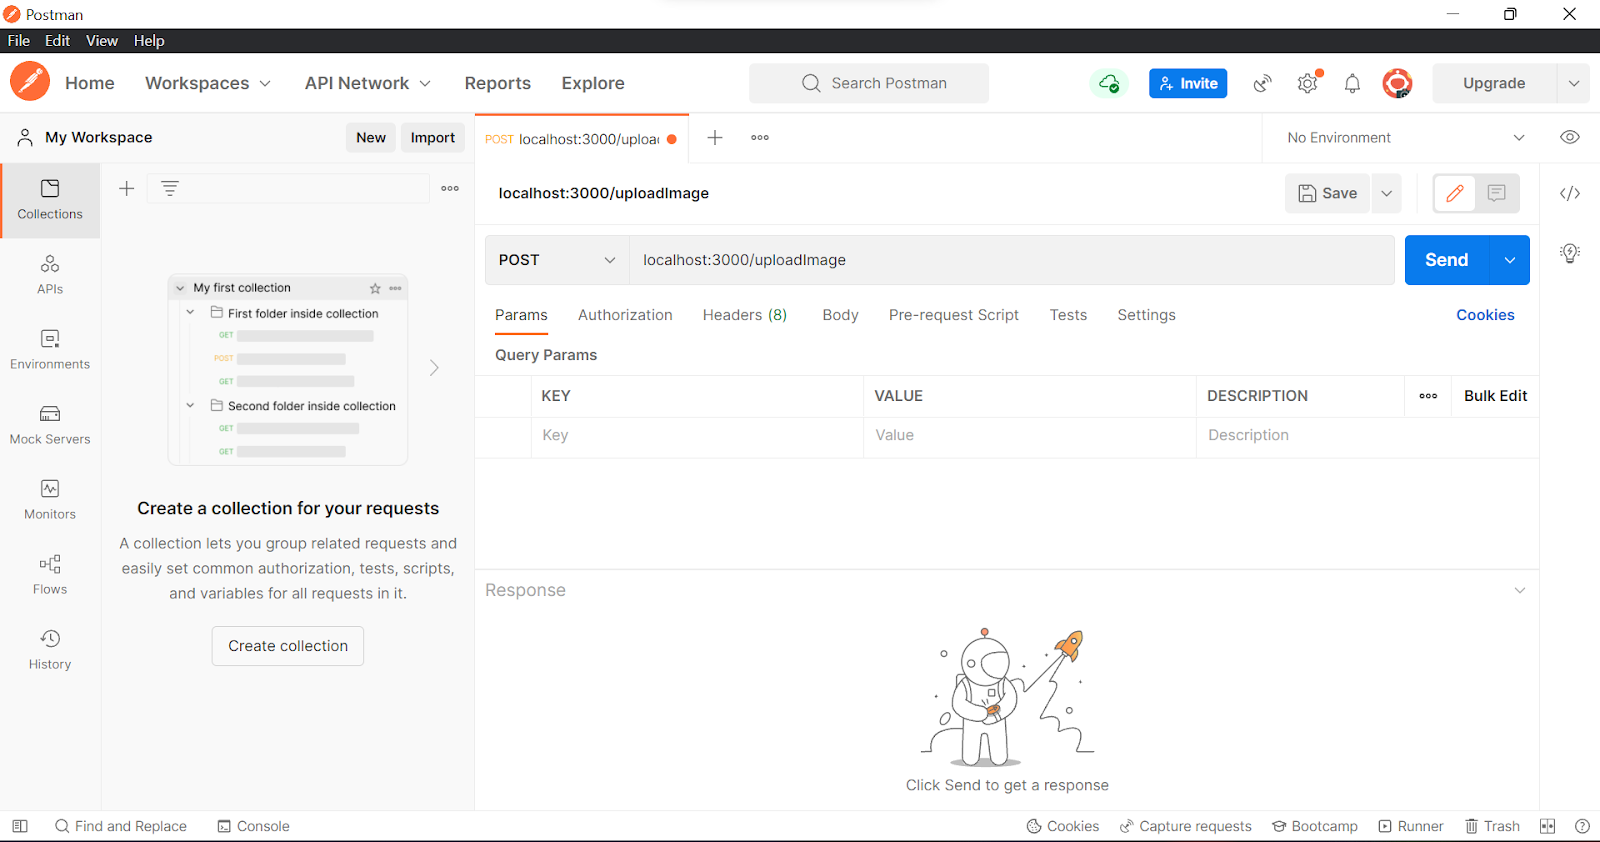
Then, click on Body.
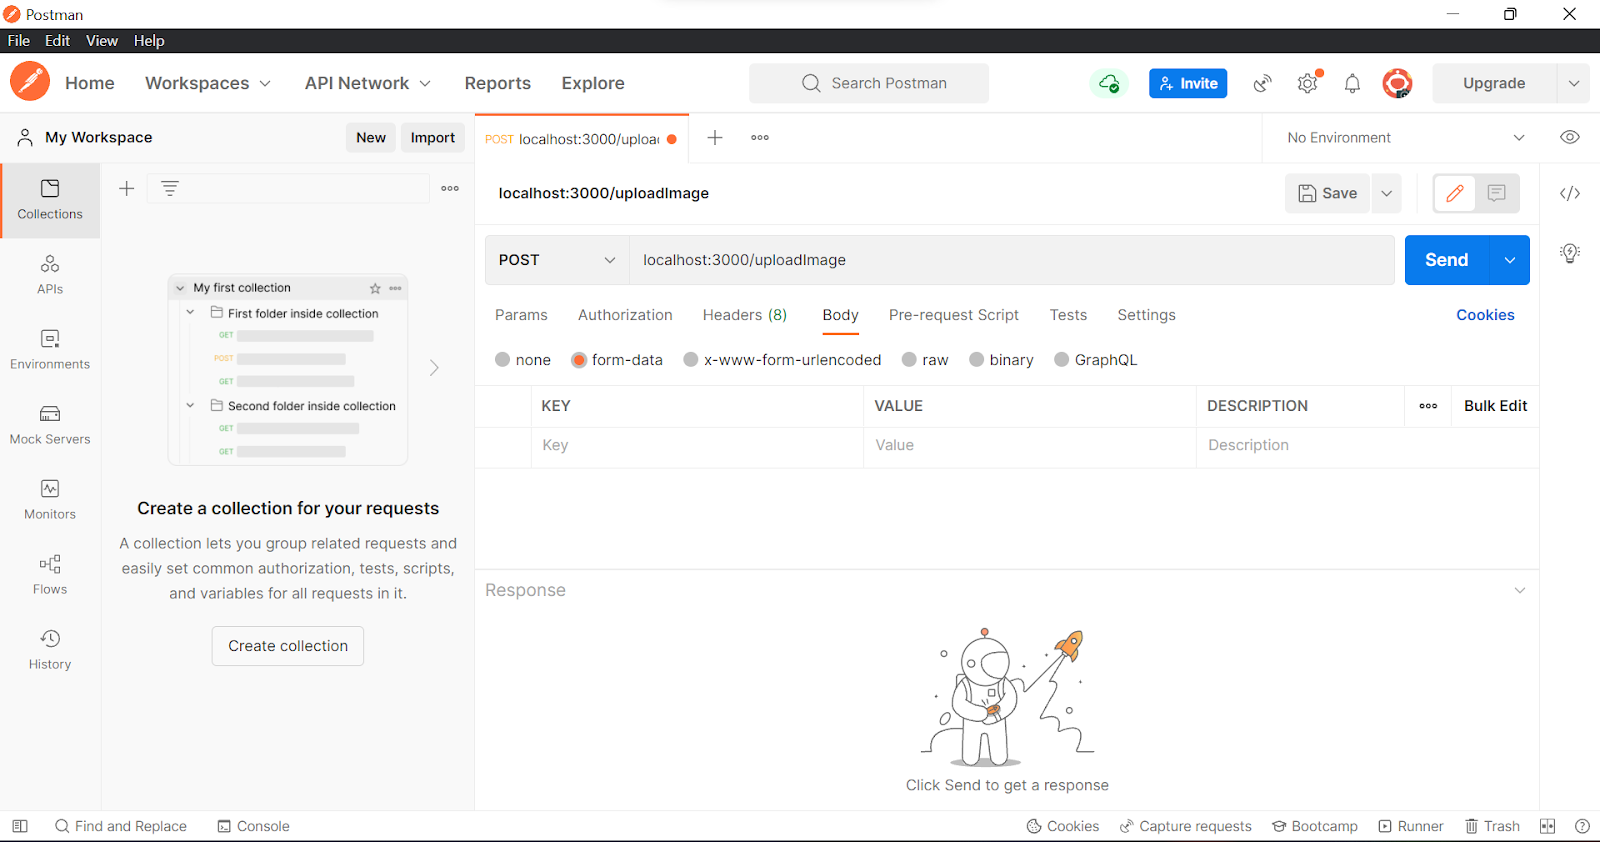
Select the type as File.

In the keys, add an image. Select the image by selecting the file. Click on Send.
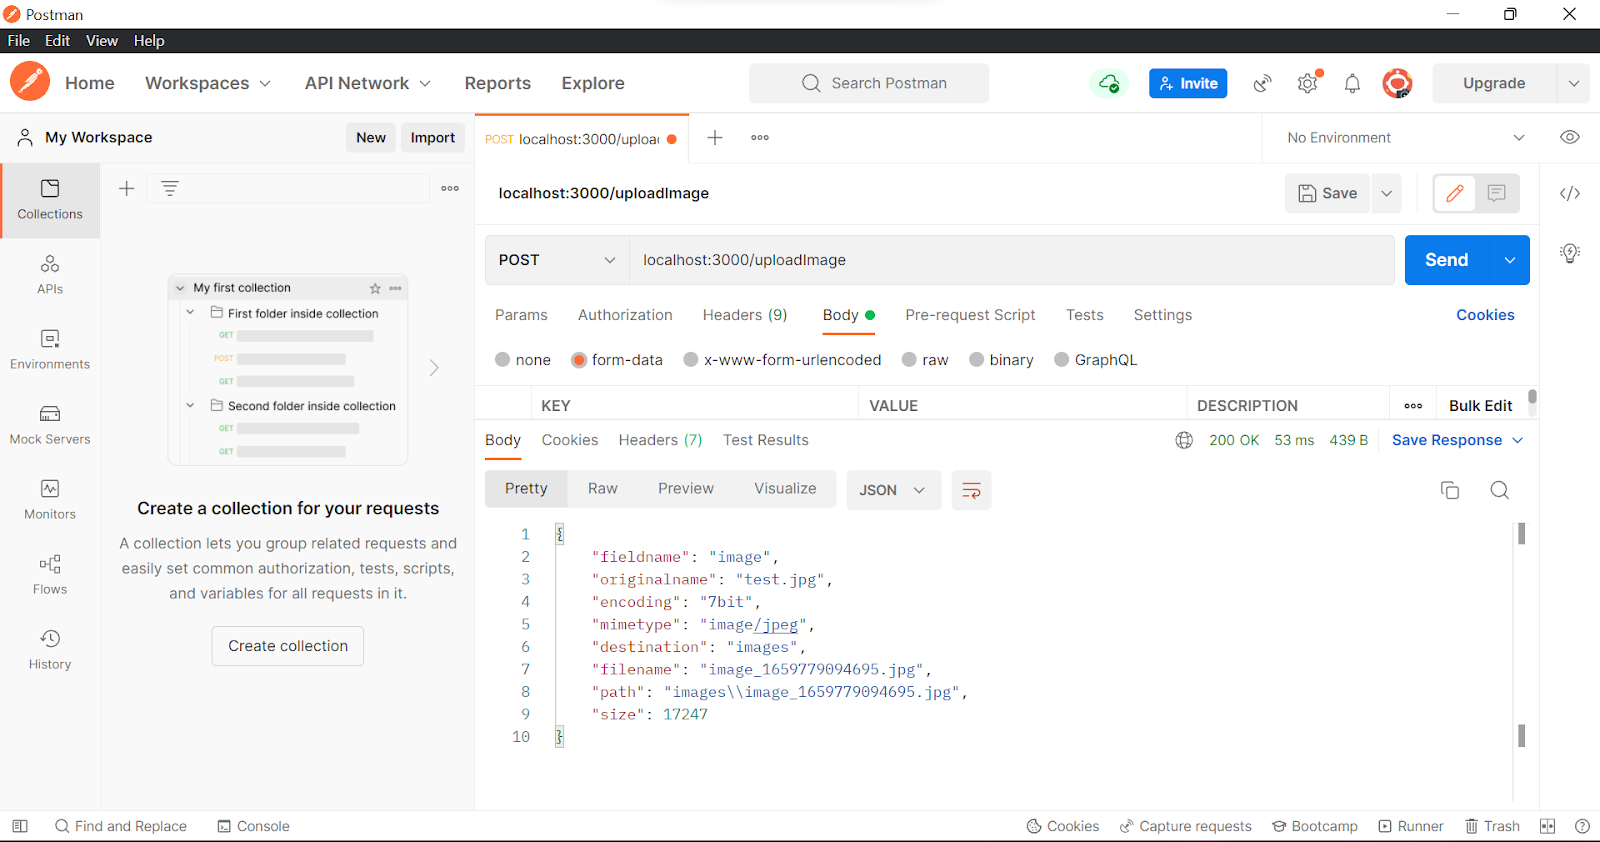
On success, you will see the object output as shown in the image below.
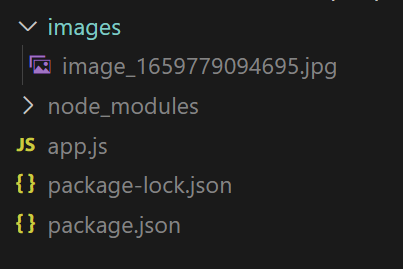
Now, navigate back to the directory and check the images folder. You’ll see the image uploaded to the folder that you created.
Now, let’s add a route to upload multiple images. Use the below code for the same.

Now, open postman. Add multiple image files in the Body. Under keys, add the key name as images and select the image files for the same. Click on Send.

On success, you will see the following object output as shown in the image below.

Navigate back to the images folder and you will see the uploaded images as shown in the image below.
Conclusion
In this hands-on, we saw how we could make use of a package – Multer to upload single or multiple images. We began with creating a new directory and installing express in that directory. Post that we installed multer and verified its installations in the package files. Then imported the required packages, executed the server, and tested if the application was running as expected. We then created a new folder to store the uploaded images in it. Post that, we wrote a function to create image storage for the images that were to be uploaded. Then we created a function to let us be able to upload images using the multer package. We then created a route for us to hit the URL and test the package for uploading the image. Navigating to the postman application, we hit the URL and checked if the image was uploaded onto the local machine. We created a route for uploading multiple images and navigating to the postman application, we configured the Body parameters and hit the new URL to upload multiple images, and finally tested the same by checking if the images were uploaded in the created folder. We will come up with more such use cases in our upcoming blogs.
Meanwhile…
If you are an aspiring Backend developer and want to explore more about the above topics, here are a few of our blogs for your reference:
- How to create and delete Email Templates on Amazon SES using Node.js and Postman API?
- How to send customized emails by integrating SendGrid with a Node.js application?
- How to connect to MySQL database and run CRUD operations in Node.js?
Stay tuned to get all the updates about our upcoming blogs on the cloud and the latest technologies.
Keep Exploring -> Keep Learning -> Keep Mastering
At Workfall, we strive to provide the best tech and pay opportunities to kickass coders around the world. If you’re looking to work with global clients, build cutting-edge products and make big bucks doing so, give it a shot at workfall.com/partner today!
Frequently Asked Questions:
- Q. What is Multer, and why is it used for file/image uploads?
Reading Time: 7 minutesA: Multer is a middleware for handling multipart/form-data, which is primarily used for uploading files. It processes incoming file data (from client form submissions) and makes file metadata and content accessible in req.file or req.files. It simplifies saving uploads either to memory, local disk, or custom storage engines.
- Q. How do I configure Multer to accept single vs multiple image uploads?
Reading Time: 7 minutesAnswer:
- For single file: use upload.single(‘fieldName’) — then the uploaded file is in req.file.
- For multiple files (same field): use upload.array(‘fieldName’, maxCount) — req.files is an array of file objects.
- For multiple fields with potentially multiple files each: use upload.fields([{ name: ‘field1’, maxCount: n1 }, { name: ‘field2’, maxCount: n2 }]).
You define a storage engine (e.g. diskStorage) with destination and filename functions, possibly filter file types, set file size limits, etc.
- Q. How do I store the uploaded images in a local directory?
Reading Time: 7 minutes A:
Use Multer’s diskStorage option:const storage = multer.diskStorage({
destination: (req, file, cb) => {
cb(null, ‘uploads/’); // local folder
},
filename: (req, file, cb) => {
const unique = Date.now() + ‘-‘ + file.originalname;
cb(null, unique);
}
});
const upload = multer({ storage });
Then apply the upload middleware to your route. After a successful upload, you can (in the route handler) respond with file paths or metadata to the client.
- Q. How do I validate file types, restrict to images only, and prevent malicious uploads?
Reading Time: 7 minutesA:
Use a fileFilter function in Multer config:fileFilter: (req, file, cb) => {
const allowed = /jpeg|jpg|png|gif/;
const ext = path.extname(file.originalname).toLowerCase();
if (allowed.test(ext) && allowed.test(file.mimetype)) {
cb(null, true);
} else {
cb(new Error(‘Only image files allowed’));
}
}
Also set limits: { fileSize: maxBytes } to prevent overly large uploads. Sanitize filenames, avoid path traversal attacks, and store uploads in non-executable directories. After upload, verify the file’s MIME type via inspecting magic bytes if needed.
- Q. What error handling should I incorporate and how do I serve the uploaded images?
Reading Time: 7 minutes Answer:
- Wrap upload middleware in try/catch or pass errors to Express’s error handler (e.g. handle MulterError)
- Return meaningful error responses for file size exceed, invalid type, or missing files
- On success, respond with the URL or path to the stored image(s)
- To serve images, use Express static middleware (e.g. app.use(‘/uploads’, express.static(‘uploads’))) so clients can fetch by URL (e.g. /uploads/filename.jpg)
- Optionally, delete unused/old files, validate file existence before serving, and add caching headers